My Blog List

Wednesday, October 24, 2012

WOOL COAT REFASHION


   This coat was my Father in law's. 
Purchased 1950's from Sears&Roebuck!  
I liked the black and red check. Thought it would make a great women's coat! 
 Sooo....
I took the whole coat apart(saved the cool zipper for another project) and made it girly!


BEFORE

AFTER :)

There was no lining in this scratchy coat...
 I went CrAzY and  used silver lame fabric!  
 I feel special every time I wear it.;)


Tuesday, July 10, 2012

Sun Hat Tutorial from Burda

I am back from a wonderful vacation at the beach.
Before we left I decided last minute to make a sun hat. 
 I purchased a discount table cloth  from
TJ Max for the fabric.
 I found a free pattern link below and made this hat from Burda Style.


Monday, June 25, 2012

Paracord Bracelet Video Tutorial


What do you do when your daughters are making polymer figurines and your son is BORED!?
Well.......

You buy him para cord, go on you tube, and search para cord tutorials. Or watch the video I have provided below.


Finished products


This has been a great boy and girl busy hands summer activity.

Thursday, June 14, 2012

Lace Shirt Refashion with Elastic Thread


Before....

I snipped the bottom of the shirt off.

*TIP*
My orange handled Fiskar Detail Scissors are
the best tool!
The pointed tip is very handy
for small spots like ,seam ripping and
tiny corners of your fabric.


Next I used a gather stitch to
shrink the lace skirt at the top.
Then pinned like CrAzY!!


This is elastic thread.
You have to hand wind the thread loosely. 
Be careful not to
pull or use tension when winding. 


The top thread needs to be
normal thread.
Only the bobbin thread is elastic.

It was a must to use elastic
 thread on this project. 
If I had used regular
thread,it would have ripped out.

After :)


Monday, June 11, 2012

Nothing is perfect in life........

This is my priceless Mother's Day present!
What a wise thought from such a young girl.


Saturday, February 4, 2012

Sewing Little Animals


It is such a great feeling to be able to create, and give to someone else :)
This  was a fun project.  The pattern is from http://mellyandme.typepad.com/ (Melly & me)


The pattern came from
http://mmmcrafts.blogspot.com/(mmmcrafts)
This was also a lot of fun to make. (I altered the pattern)

My Daughter decided to have some fun as well!
She drew her own patterns for the Cat and the Owl!
Side note: She also weaved the basket that the Owl
is sitting in!!  By using large piping and yarn.
That girl is sooo creative!!!


Tuesday, January 31, 2012

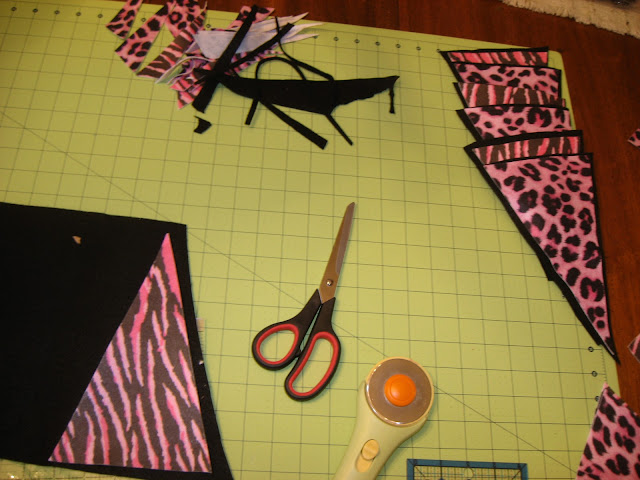
~Birthday Banner Tutorial~

1. Cut two pieces of felt for one pennant.


2. My pennants ended up being about 51/4inches wide x 9 inches long.


3. I used stencils purchased from Hobby Lobby and cut them out free hand!
(applique scissors work great for cutting details)
4. sew around each letter,before sewing on black backing.
(or use good fabric glue )


We let the kids decorate this year!
They were so proud!  It was a lot of FUN!
HAPPY BIRTHDAY BIG GIRL!!